Published
- 14 min read
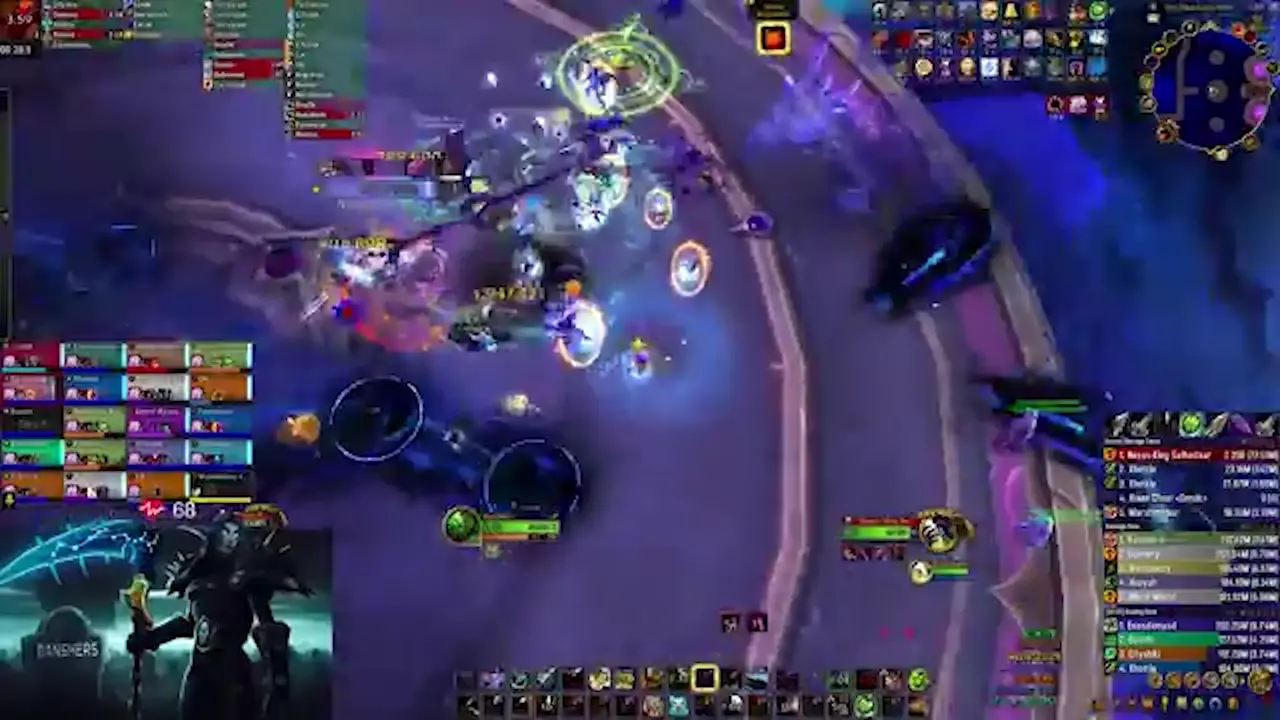
A Complete Guide to the Nexus-King Salhadaar
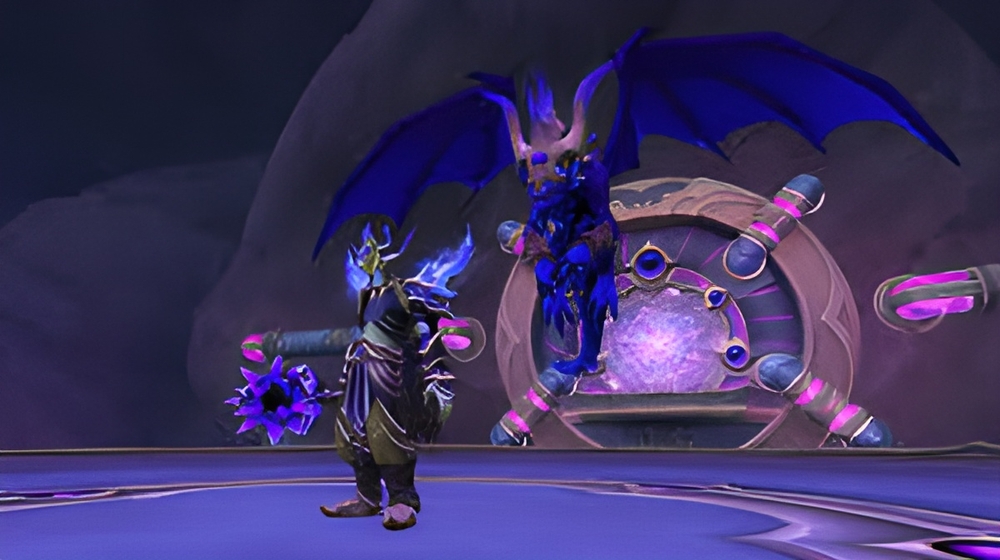
The battle against the Nexus-King is one to open the pathway to Dimensius and ascend to the inner rings of the Manaforge itself. This is a long, intense, and epic multi-phase encounter against the final pawn of the All-Devouring, who betrayed his people to the Void Lord in exchange for promises of untold power.
Abilities
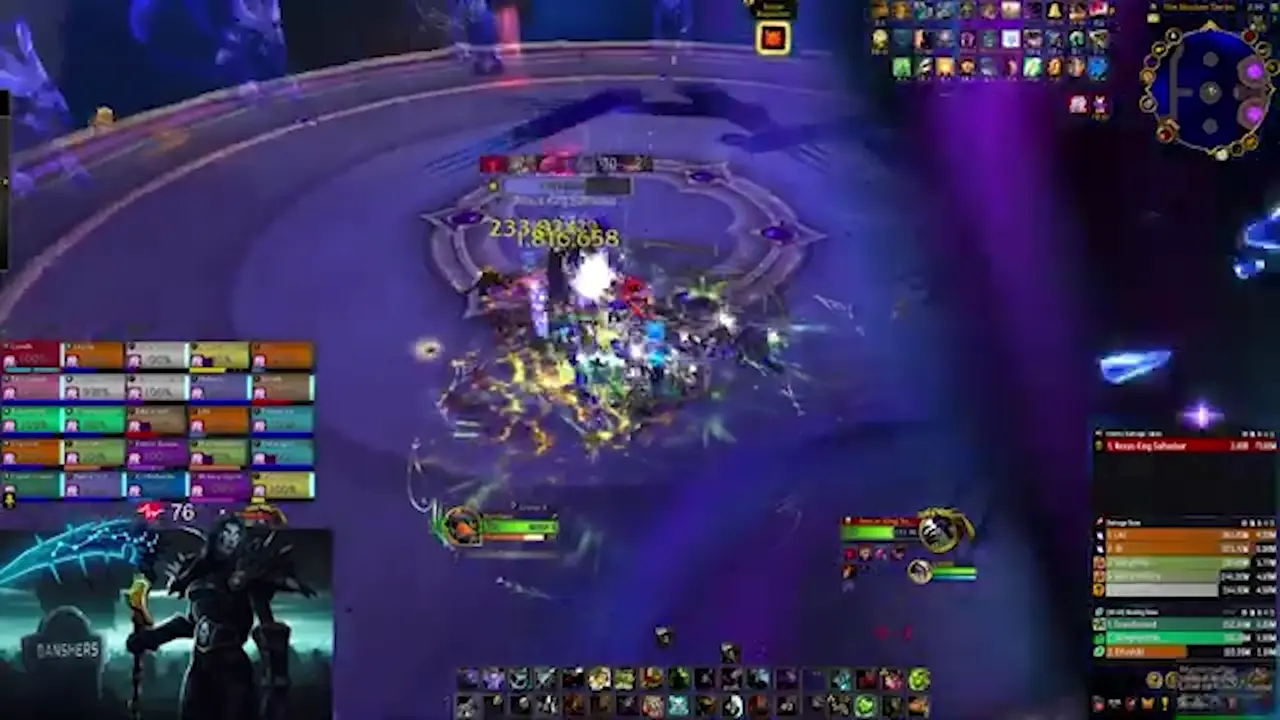
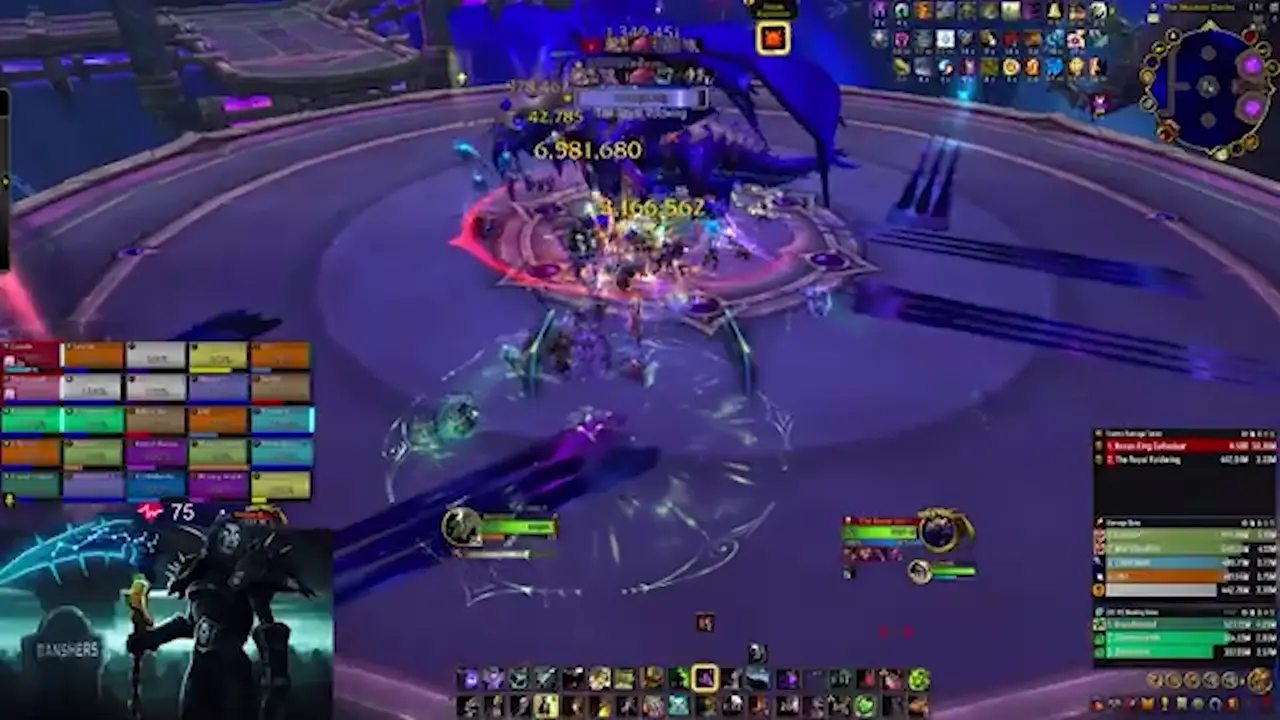
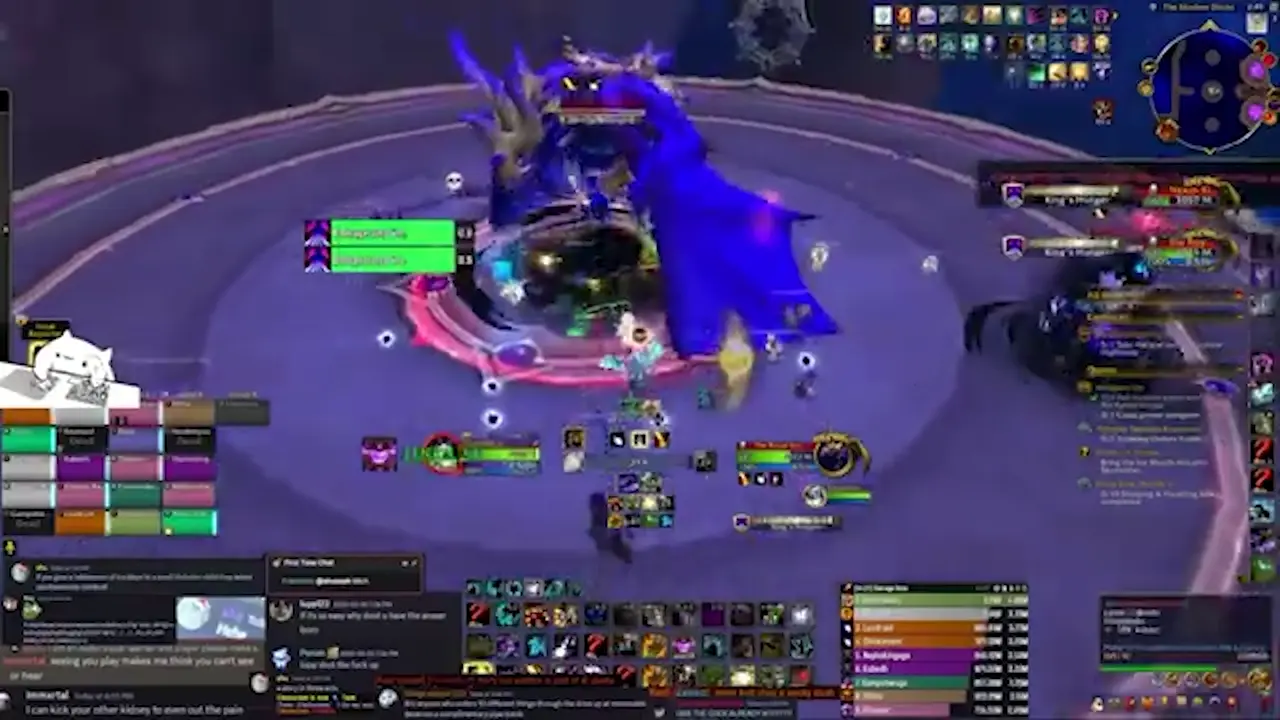
Phase One
- Decree: Oath-Bound - Salhadaar channels to inflict a high amount of damage to the raid over 6 seconds upon being pulled. This applies 3 stacks of Oath-Bound to each player. On Heroic and higher, suffering fatal damage does not kill the player, but converts them to the Shadowguard, healing them to full health and switching their allegiance to the Nexus-King, charming them until death and causing them to inflict 100% increased damage and healing.
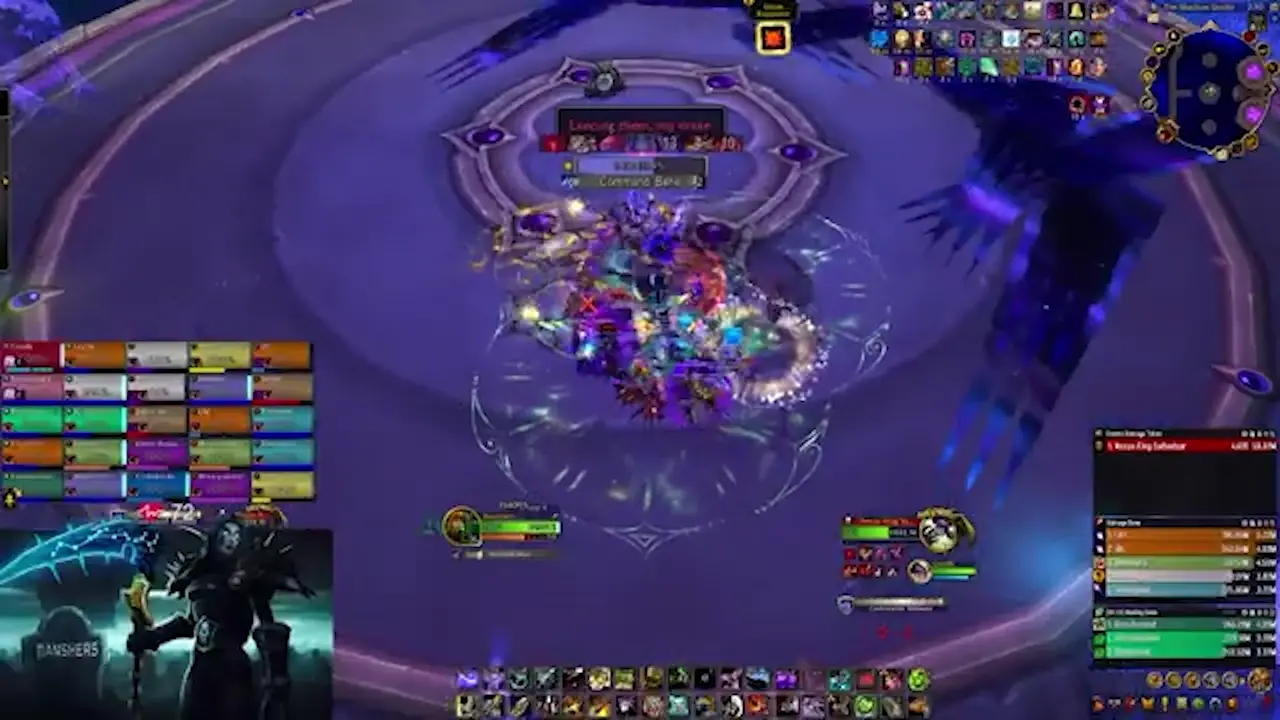
- Invoke the Oath - Salhadaar ends the phase with this cast, dealing moderate damage to the raid and converting any player still afflicted by Oath-Bound to his side.
- Subjugation Rule - The Nexus-King begins a four-part combo, casting a completely random sequence of Conquer and Vanquish. He may cast any ability in any order, but he can only cast two of each.
- Conquer - The Nexus-King casts this on his current target, inflicting a massive amount of damage split amongst all members within the indicator, and increasing their damage taken by Conquer by 100% for 20 seconds. This removes 1 stack of Oath-Bound. This also knocks up all players hit.

- Vanquish - The Nexus-King casts this at his current target, dealing massive damage to his target and anyone struck by the cone, increasing their damage taken by Vanquish by 100% for 20 seconds.
- Besiege - Several images of Salhadaar’s Royal Voidwing appear around the encounter space. Coming too close to them causes them to lash out, knocking the player back and dealing moderate damage. Occasionally, the images begin a sequence of breath attacks, raining down entropic fury upon the battlefield.
- Behead - The Royal Voidwing marks several players with a line, then in short order deals a moderate burst of damage to them and leaves a Cosmic Rip in the indicated visual, which persists for the entirety of Phase One.
- Banishment - Salhadaar places a debuff on several players that deals moderate damage over time, ending in a burst of damage when it expires.
- Tyranny - Moderate rot throughout the entirety of the phase.
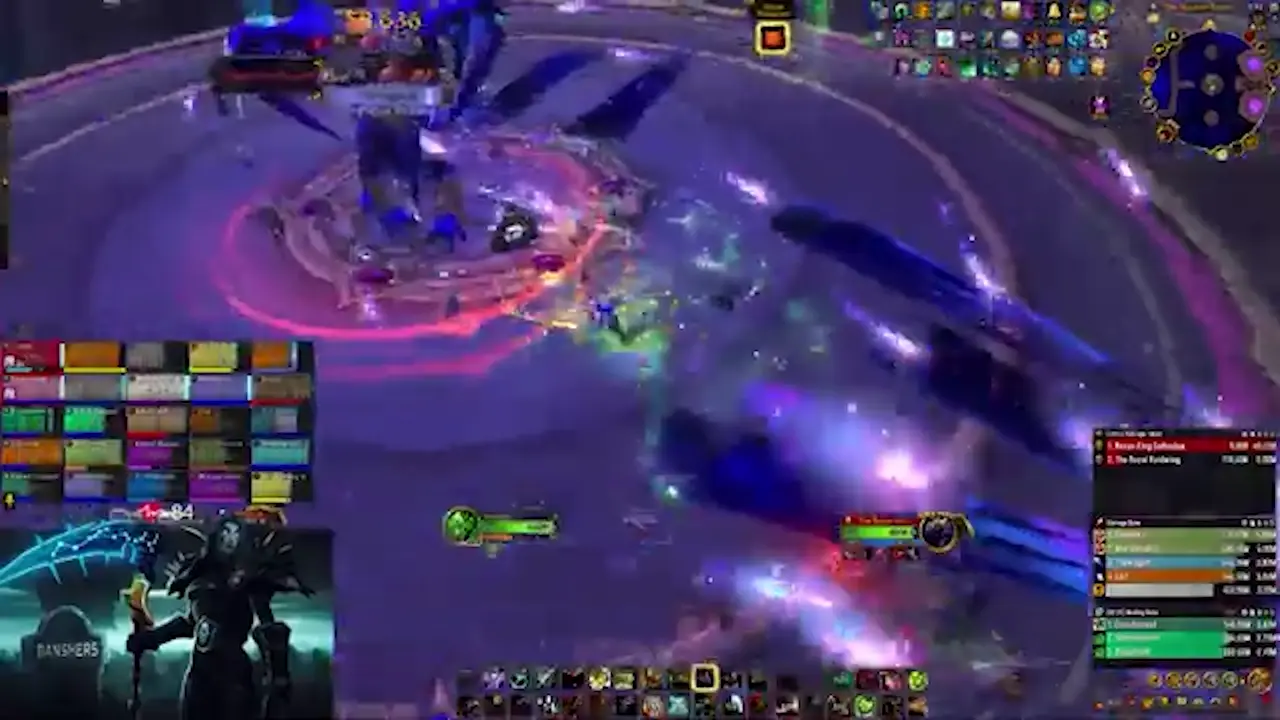
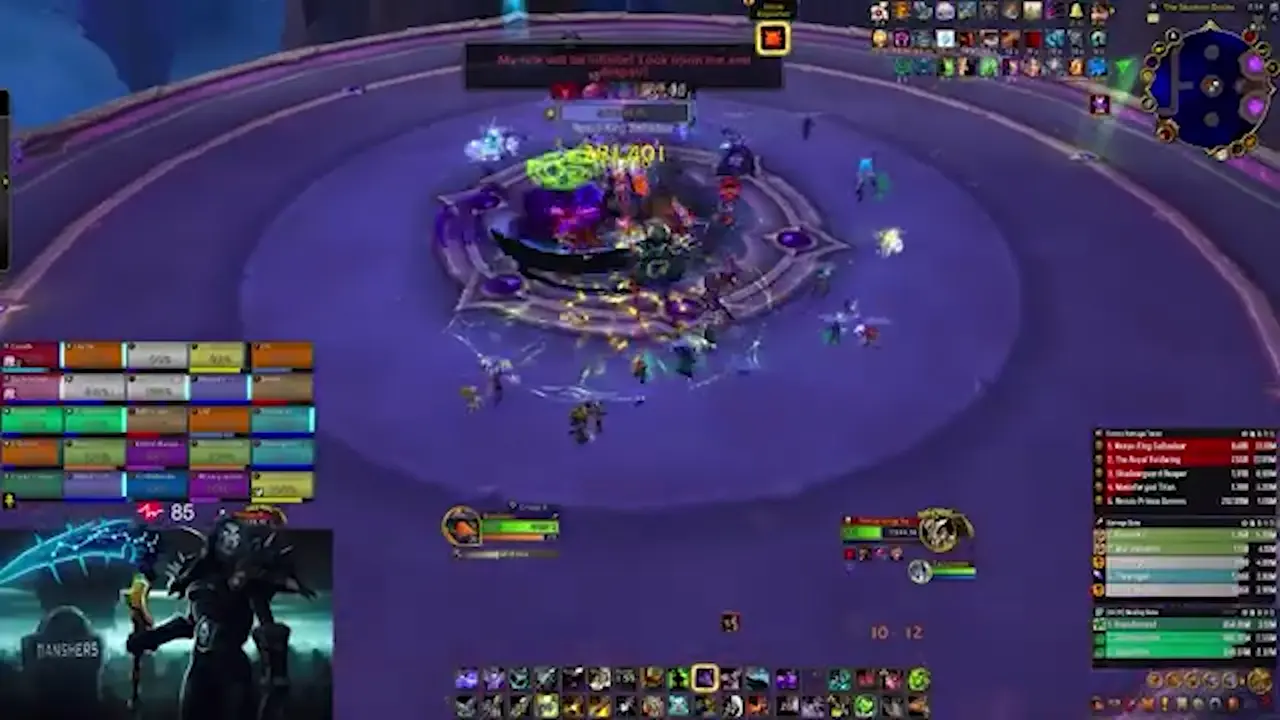
Phase Two
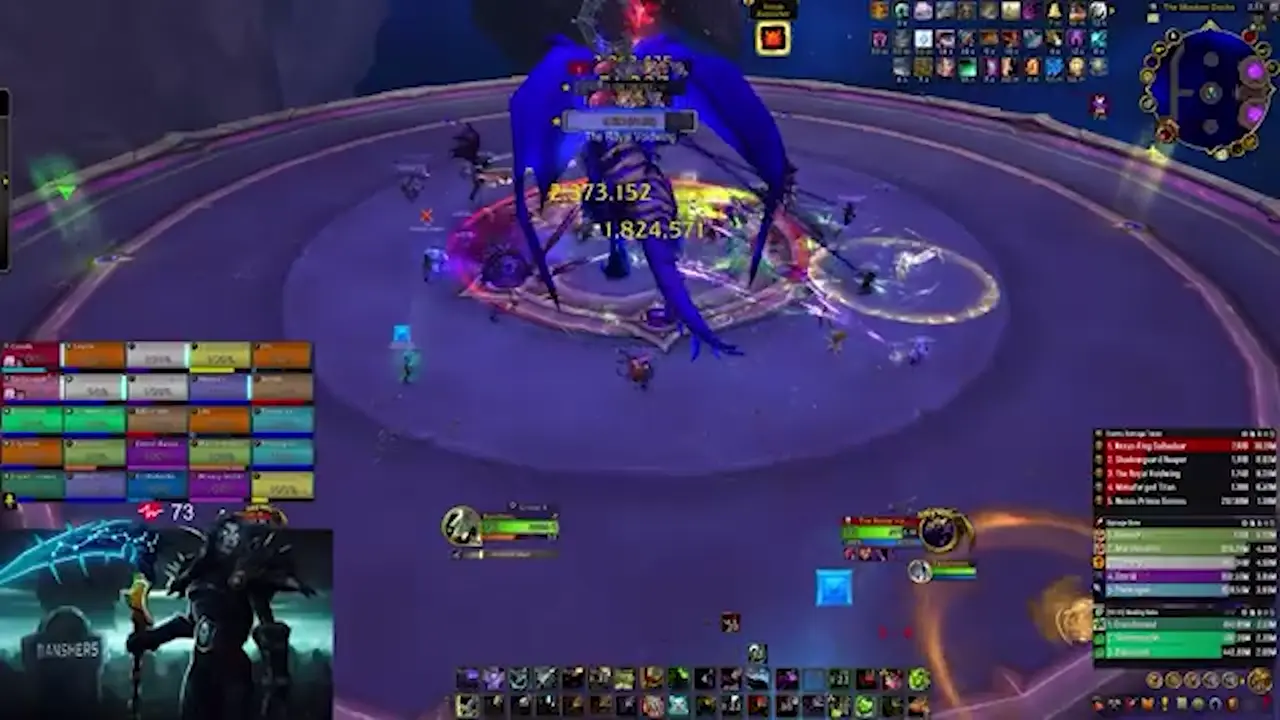
- Coalesce Voidwing - Salhadaar summons his mount after a long cast, dealing fatal damage to any players caught within the visual before mounting his void dragon, which has its own health pool and is targetable but effectively one unit with its master.
- Netherbreaker - The Nexus-King marks several players with large circles before throwing his mace at them, which ricochets between all targets and leaves behind a nether portal after dealing high damage to anyone within 20 yards.
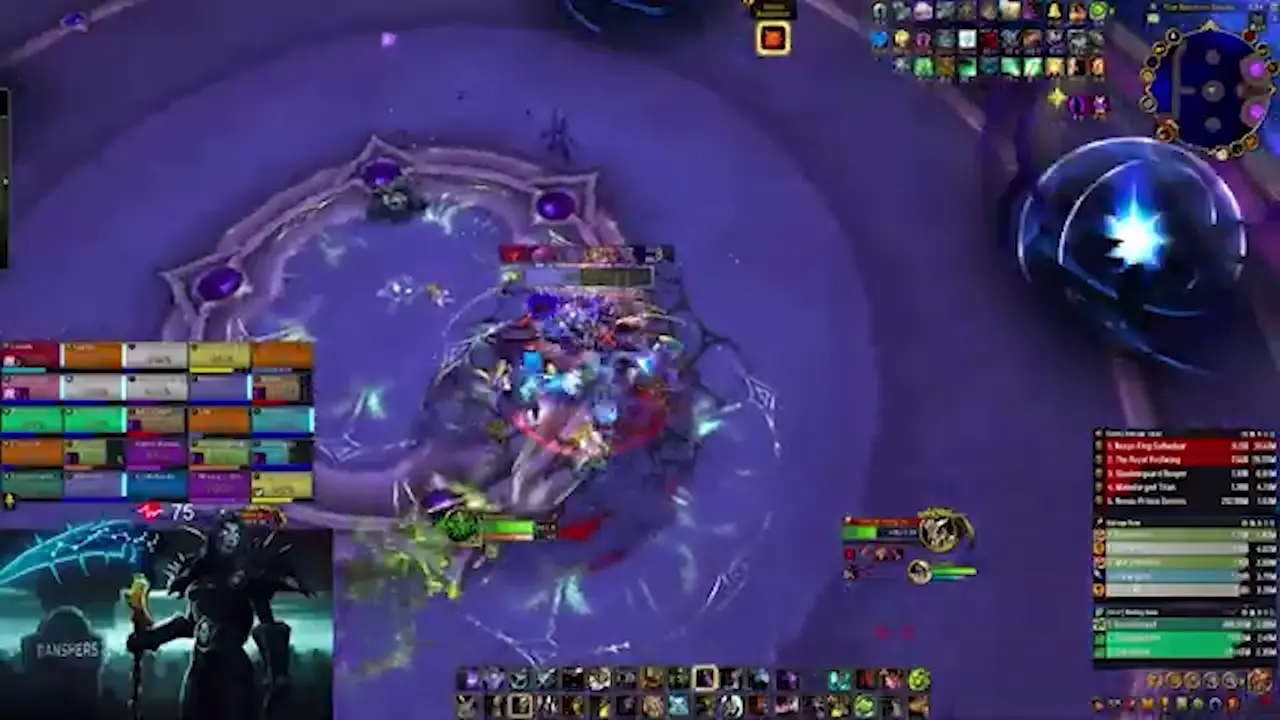
- Cosmic Maw - The Voidwing inflicts massive physical damage to its current target, inflicting them with a debuff that increases damage taken by Dimension Breath by 100% for 10 seconds.
- Dimension Breath - The Voidwing unleashes a beam of cosmic energy at its current target, dealing high damage every 0.3 seconds. These beams are echoed from the positions players deposited their Netherbreaker circles. On Heroic and higher, Dimension Glare is applied to the target of the Breath, dealing damage to the raid based on how much they were able to mitigate it after 2 seconds.
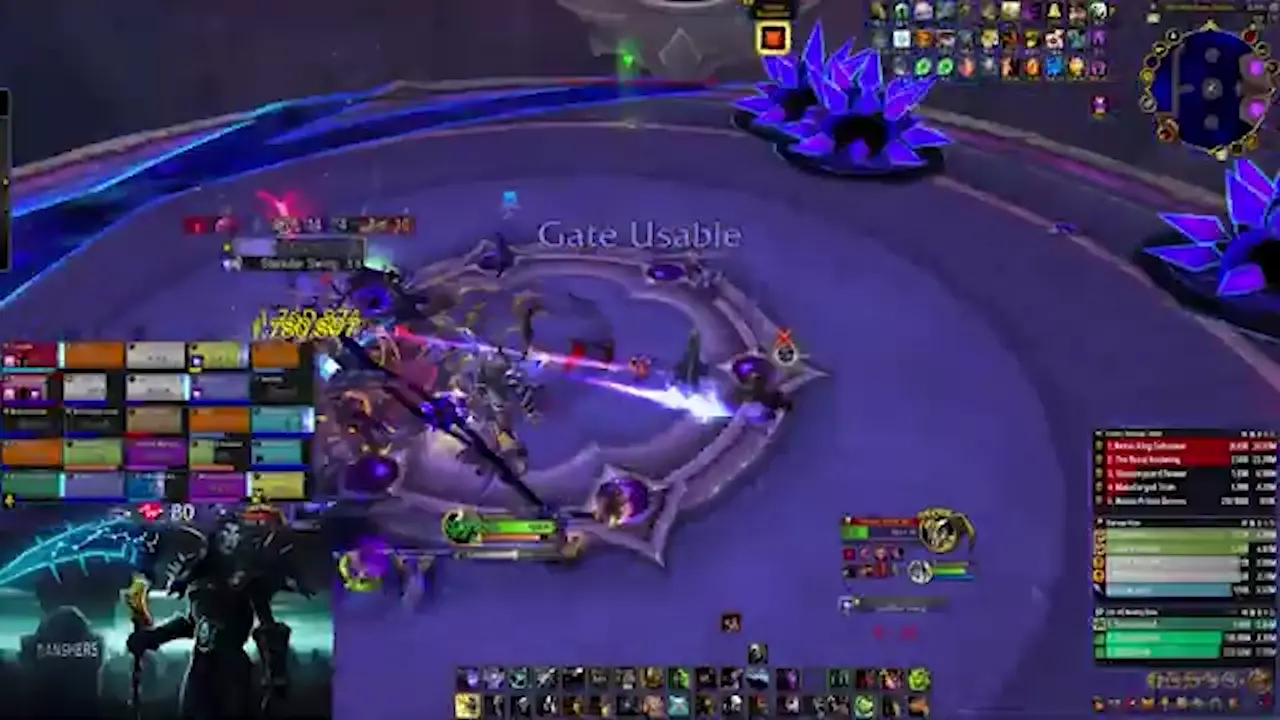
Intermission One
- Rally the Shadowguard - The Nexus-King calls in his forces on the adjacent platforms, requiring the raid to split into two groups to address their presence. Players must use the ExtraActionButton provided by the Reshii Wraps to travel to these platforms.
- Seal the Forge - The Nexus-King begins channeling energy into the Manaforge itself in an attempt to prevent players from breaking through to Dimensius, dealing high damage to any player on the main platform. The boss is also protected by a Royal Ward at this time, taking 99% reduced damage.
There are several adds available on each side, with both sides having the exact same composition.
- Manaforged Titan - This uses Dread Mortar, which fires a barrage of artillery that deals high damage to any players struck, and casts Self-Destruct when it reaches full energy, wiping both platforms after 10 seconds if not killed.
Dread Mortar
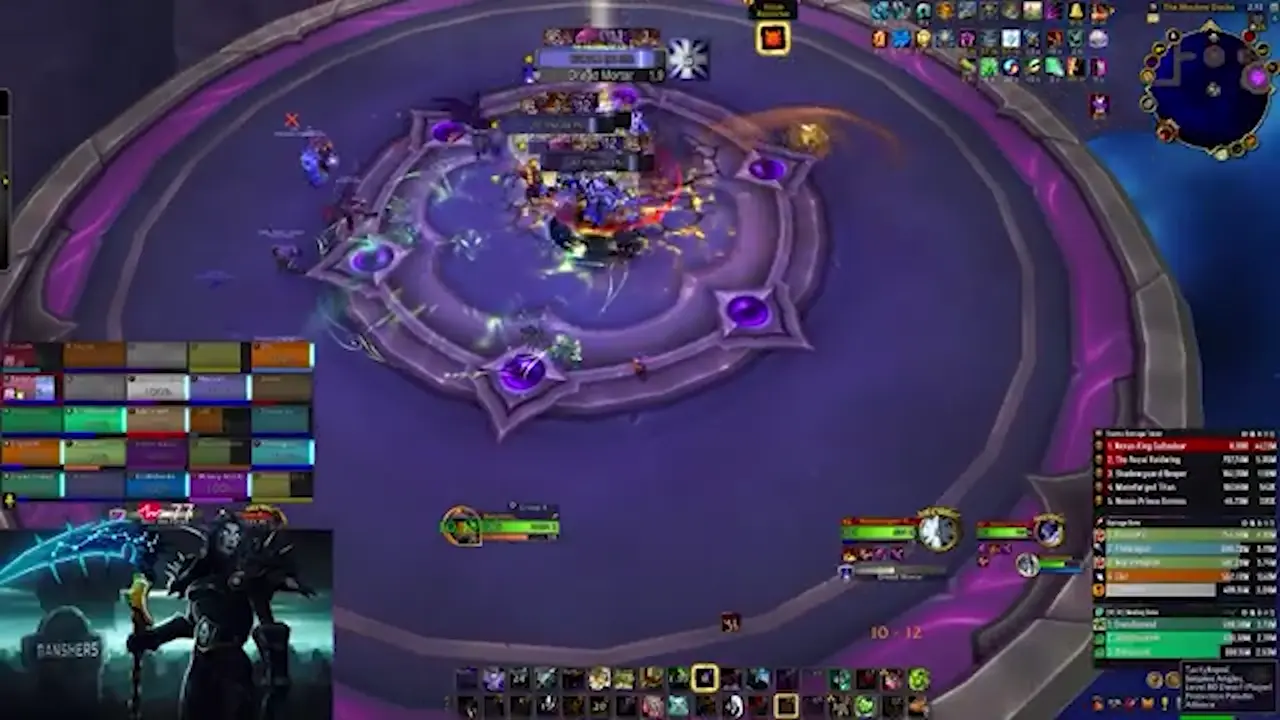
- Nexus-Princes - Each side has a Nexus-Prince, who have different names but the exact same abilities. The first is Netherblast, an interruptible cast that deals high damage to a single player, and Nexus Beams, which causes a set of beams to rotate around the Nexus-Prince, dealing high damage to any player struck.
Nexus Beams
- Shadowguard Reaper - These melee and cast Reap, teleporting behind a random player and dealing moderate damage to them and afflicting them with a light, long-lasting DoT.
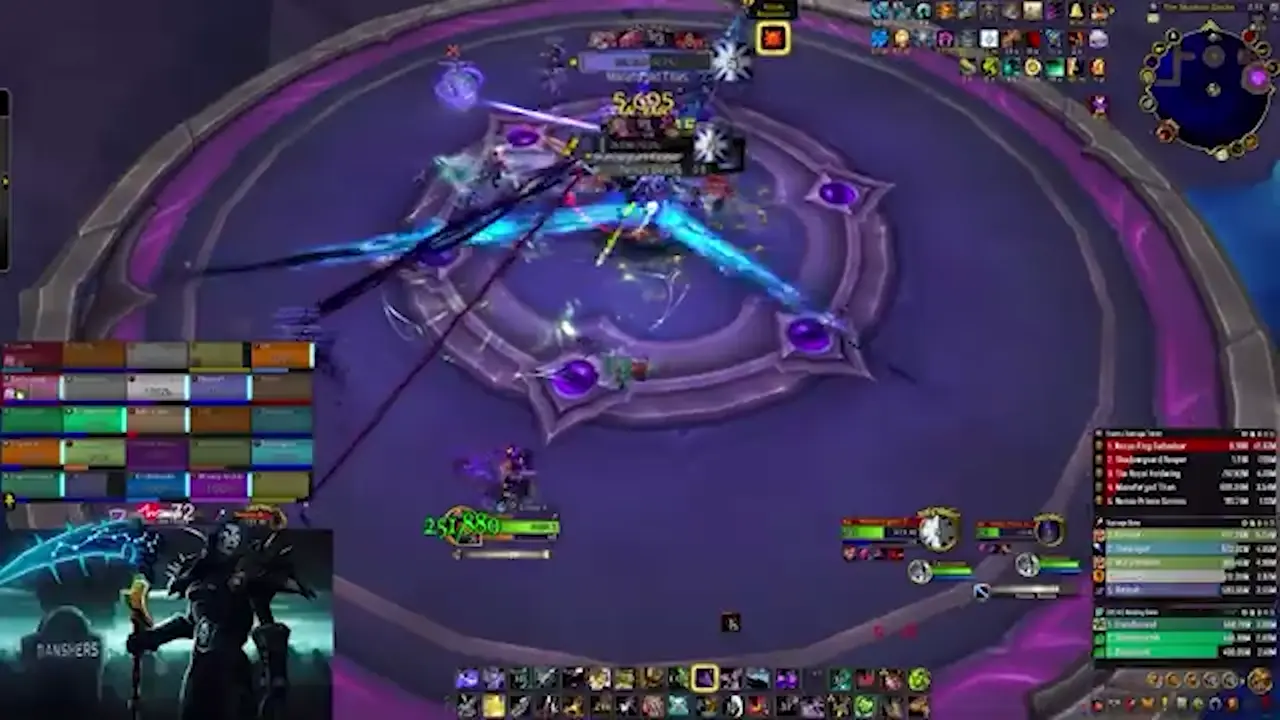
Intermission Two
- King’s Hunger - Desperate, Salhadaar sacrifices his mount, draining its essence over 30 seconds, increasing its damage taken by 100% and dealing high damage to the raid during this time. Upon completion, he will heal himself for amount proportional to the Voidwing’s remaining health.
- Behead - Instead of afflicting random players with lines, the Voidwing claws out at its enemies in random directions, dealing high damage to any player struck.
Phase Three
- Galactic Smash - Salhadaar summons several images of himself and strikes several players as well as his primary target with cosmic force, applying Twilight Scar, a moderate long-lasting DoT and dealing moderate damage per target to all players, as well as pulling players towards them. This damage is reduced by distance, and the targets of this ability spawn Dark Stars at their location. The current tank suffers Starshattered, taking massive physical damage and increasing damage taken from Starshattered by 100% for 40 seconds.
- Dark Star - This star spawns Twilight Spikes from its location, ever-expanding rings that deal a large amount of cosmic damage to any players struck. Any players that touch the Dark Star suffer lethal damage and are slowed by 60%. On Heroic and higher, these stars orbit the arena.
- Starkiller Swing - Salhadaar repeats his opening salvo, summoning several images and striking marked players after a cast, applying Twilight Scar to them and dealing moderate damage to any players struck by the indicated line. The current tank suffers Starshattered, taking massive physical damage and increasing damage taken from Starshattered by 100% for 40 seconds. If this hits a Dark Star, it consumes it, causing it to explode for light damage per Star. If it does not hit a Dark Star, it instead deals massive damage to the entire raid.
Strategy (Normal and Heroic)
You should lust on the second intermission during the damage amp, as this will yield the greatest return on lowering the boss’s health.
Phase One begins with the boss standing still and proclaiming his Decree: Oath-Bound.
- You may choose to tank the boss in the center and drop the Behead lines as far as you can take them to the edges while dodging in the middle, but this is needlessly difficult. I recommend dragging the boss to any edge of the arena and moving clockwise or counter-clockwise as needed, as this makes dealing with the Besiege overlaps significantly easier.
- If you choose to tank the boss at the edges and moving it along, players can simply deposit their Behead lines behind the raid, opposite of the direction the tanks will be moving the boss.
- The raid will need to clear their stacks in two separate groups. The tanks should bring the Conquer soak to the raid, in a consistent fashion.
- The complete random nature of the Subjugation Rule combo can make the taunting and swapping of the boss quite awkward at times. You simply do not want to take the same ability twice during the combo, and thus should only taunt when the other tank is in danger of dying to a repeat ability.
- Vanquish should be pointed in a consistent direction every single time, and players should make sure they know where that will be, and avoid dodging in that direction.
- Players need to make sure they are cleared of all three stacks of Oath-Bound by the end of the phase. If a player misses a soak, they will need to soak twice on the next set, if applicable, by using personals or calling for externals.
Phase Two
- After casting Invoke the Oath, Salhadaar will summon his mount with Coalesce Voidwing. He will then cast Netherbreaker, and shortly after cast a Dimension Breath. Once this sequence is over, he will transition to the first Intermission.
Intermission One
- As mentioned, the raid needs to split up into two groups, a tank in each group, and go to the platforms adjacent to the main platform utilizing their Reshii Wraps.
- The goal is to kill the Manaforged Titan as quickly as possible, or the entire raid will wipe to the Self-Destruct cast.
- You may set up a kick rotation on the Nexus-Prince, or yolo-kick. Whatever you feel is necessary. You should only need a relatively short kick list.
- Be wary of Dread Mortar and the Nexus Beam cast overlapping. Otherwise, this phase is relatively simple and lax.
Phase Two
- After both sides are cleared, the boss will become active in the middle again and will continue with the sequence described earlier, with Behead thrown in to complicate space.
- After a few rotations of this, on a timer, he will enter the second intermission.
Intermission Two
- This plays similar to the first intermission of Silken Court. The raid will need to dodge high damage lines while dealing as much damage as possible to the Voidwing. This is where I recommend lusting and making sure CDs are available to deal as much damage as possible, as this will effect how much health the Nexus-King has in Phase Three.
Phase Three
- Salhadaar will begin the phase with a Galactic Smash. The targeted players should run out and try to get equidistant from each other, going decently far. It is not necessary on Normal or Heroic to go to the complete edge of the platform, so that it is still possible to try to hide behind the Dark Stars.
- Rings of Twilight Spikes will erupt, expanding outward from the Dark Stars, which on Heroic and higher will be orbiting around the room. The raid will need to adjust to get to the safe spots as they become available. While this is movement intensive, it is necessary due to Starkiller Swing.
- When targeted by Starkiller Swing, players will need to quickly select their own Dark Star to either hide behind, or stand in front of. The projectile will pierce players, although it will do a significant amount of damage to them. However, making sure the Dark Star is hit is more important than avoiding this damage by hiding behind one. Walking through a Dark Star will quickly kill you.
- When done successfully, this will result in three Dark Stars being destroyed. If any players fails, it will likely result in a wipe without massive raid cooldowns being invested. Other players should make sure they are not in the path or they will suffer likely fatal damage.
- This is the reason why you do not want to take the Galactic Smashes to the very edge of the platform, as players will be unable to reasonably hide behind the Dark Stars in time due to how quick Starkiller Swing goes off.
- If done successfully, all 6 Dark Stars will be removed each cycle, resetting the encounter state.
- The hardest part of each cycle is the first Starkiller Swing, which sends the debuff out as the Twilight Spikes are still active. This is where raid movement should be utilized.
- Tanks can simply taunt off on either Galactic Smash or Starkiller Swing.
Mythic Changes
- Pacing of the abilities is massively sped up.
- In Phase One, spirits of past oathbreakers will appear and attempt to return stacks of Oath-Bound to the player, one spirit per missing stack. You must face these spirits after each tank combo to remain free of the oath.
- In Phase Two, Netherbreaker is gone, and instead the portals spawn in static locations and follow a specific sequence. Any player hit by Dimension Breath, whether from the boss or these portals, suffers Dimension Glare, likely wiping the raid.
- In the first intermission, each Nexus-Prince is now protected by an Ethereal Barrier, shielding them for 50% of their health. Shadowguard Reapers now cast Twilight Massacre, dealing high damage in a line aimed at a random player. If this hits the Nexus-Prince, it deals massive damage to their barrier.
- In Phase Three, the Dark Stars have undergone massive changes. They are no longer destroyed when hit by Starkiller Swing, but simply reverse orbit. If any Dark Star collides with another, they wipe the raid. If any Dark Star is struck by two or more Starkiller Swings at once, it wipes the raid.
Mythic Strategy
The changes to this encounter transform an already difficult and frenetic battle into a chaotic fight for survival.
Phase One
- It is almost suicide to tank the boss in the middle now, and you should instead drag the boss to the edge and drag it around the room, dropping Beheads behind the raid’s movement.
- The Besiege breaths now are much, much faster and incredibly deadly, and must be constantly accounted for.
- Players must remain cognizant of their spirits after each tank combo and face each one. Failing to face even one of these spirits means they will likely be mind-controlled when the phase ends, requiring them to be killed and forcing the expenditure of a battle rez.
Phase Two
- The general tempo of the Dimension Breaths is In, then Out. This is the best possible time to use movement speed increases and cooldowns in order to get to the safe spots. If even one player fails to dodge these beams, it will likely result in the death of the entire raid without massive damage reductions.
Intermission Two
- The only part of the encounter that has seen little change, and is simply just unforgiving now as being hit by anything will result in death, while the relative importance of dealing maximum damage here is heightened.
Phase Three
- Liquid/Echo waiting room. However, I’ll discuss what will probably be the most likely strategy.
- The platform can be envisioned as essentially a concentric ring for the purpose of this phase. Likely, the best option will be to place the first stars on the farthest arc, near the edge of the platform. The goal will be to hit each “group” of stars and keep them all on the same alignment, essentially.
- Each Galactic Smash will need to be placed closer and closer to the center of the platform, causing it to deal more and more damage as time progresses. This makes it so that on each cycle, you are only trying to hit the closest orbiting stars.
- This is relatively simple logistically, but quite difficult to execute. To avoid death on particularly bad overlaps, some players will have to make it behind the stars instead of letting it pierce them, which is much easier said than done.
- There are other ways this could be done as well. Due to the rule of not being able to hit the same star twice, and the fall-off damage and the pull-in forcing you to space them out, at the bare minimum, you know that you have to form these “layers” of Dark Stars in order to avoid their collision.
- It is also quite likely if not guaranteed that the first Starkiller Swing will occur immediately after Galactic Smash, giving players no time to pre-position or edge towards a particular star, as well making it even possible for the fight to be done, since otherwise the Stars would quickly collide.
Notes on Tanking
The first phase is the hardest part of the fight to tank and likely the single hardest thing to tank in the entire instance. In testing, the Subjugation Rule combo was very unforgiving in its timing and did not allow for the typical reactions we have become accustomed to. You will also need to intelligently position the boss as well as be relatively quick in how you move and deliver the Conquer soaks to the group. Phases Two and Three are much simpler and should feel like the standard stuff you are accustomed to.
Notes on Healing
Phase One is likely the hardest overall phase to heal due to the large bursts of damage in addition to fairly oppressive rot. Phase Two is quite lax in comparision, with Phase Three being mostly scripted bursts of damage with plenty of time to heal back up, with short periods of triage healing on 3 people at a time.
Damage Profile Best Suited for this Encounter
The majority of important damage is single target, although some cleave is good for Phase Two and the intermission. You will specifically want to make sure you have strong burst for the 30 second, 100% damage amp that leads into the final phase.
Table of Contents
- Plexus Sentinel
- Loom’ithar
- Soulbinder Naazindhri
- Forgeweaver Araz
- Soul Hunters
- Fractillus
- Nexus-King Salhadaar
- Dimensius